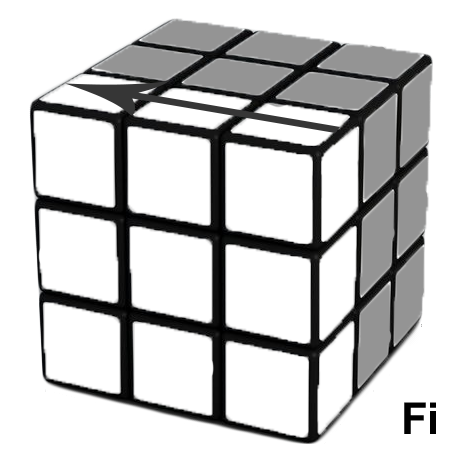
Step 4- solving the second layer of the Rubik's Cube

Your goal - completing the second layer of the Rubik's Cube as shown above
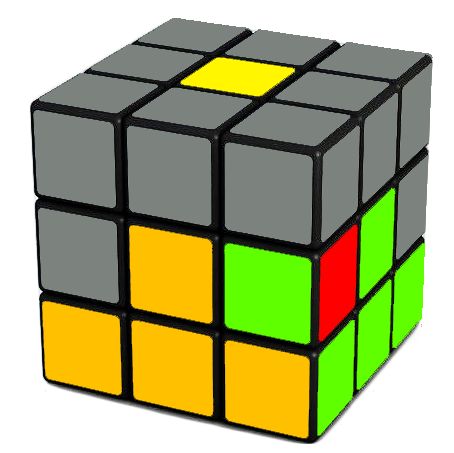
First, place the white layer at the bottom, then find an edge on the top layer that belongs to the middle layer by looking at the center pieces. In this example, we will look for the edge with Red and Green.
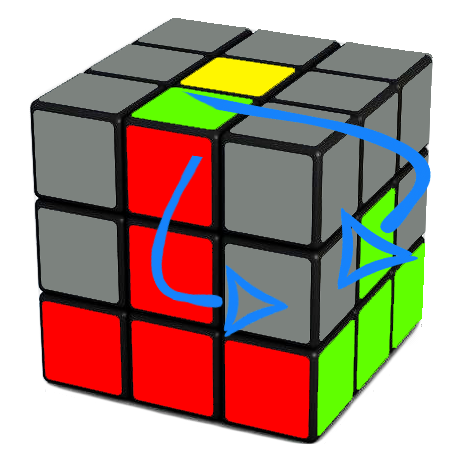
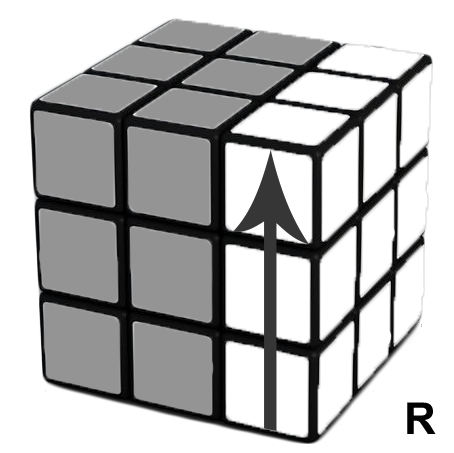
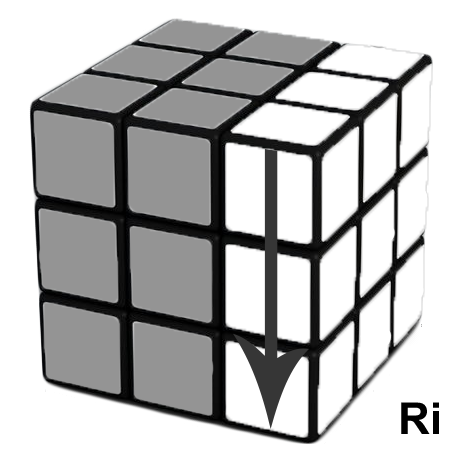
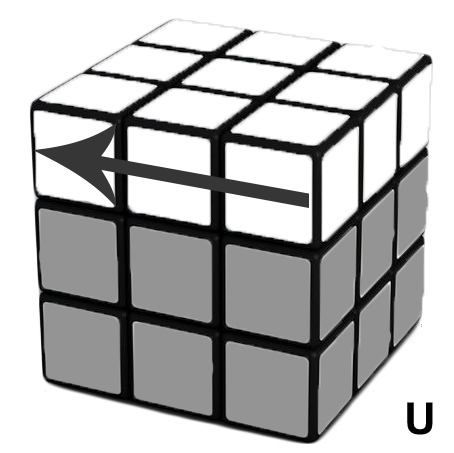
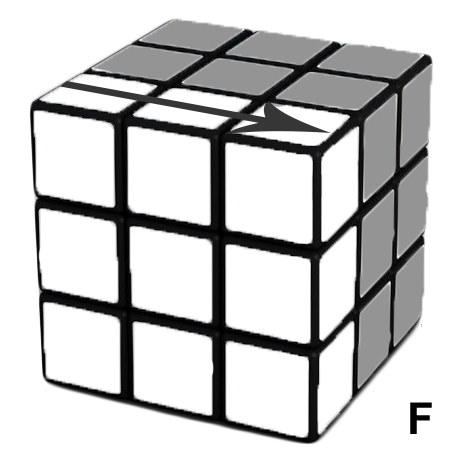
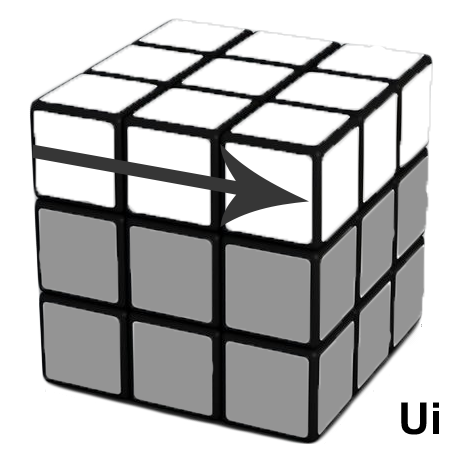
Align a vertical row of color using the edge you are solving (in this case, red, but it can be blue, orange or green). Do this by turning the top layer freely. Have this row face towards you. In this example, the edge will need to move rightwards(look at the green sticker), thus perform U R Ui Ri Ui Fi U F
If your edge needs to move towards the left of the Rubik's Cube instead, see below.


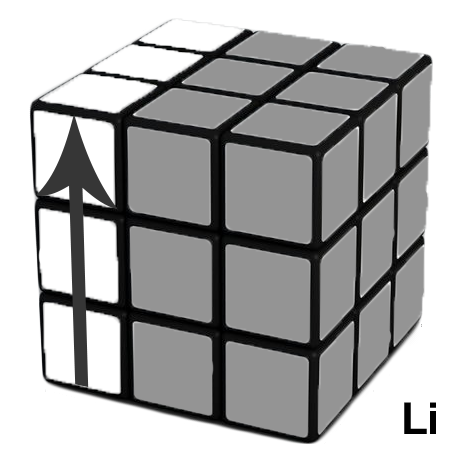
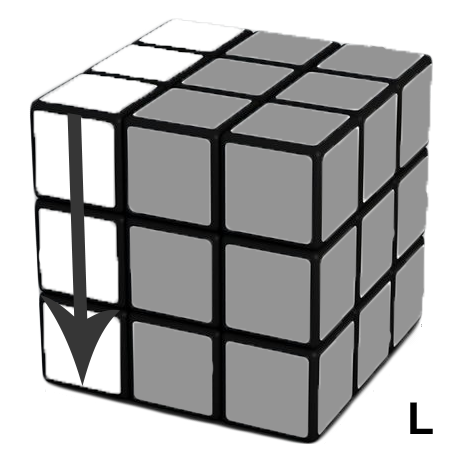
After aligning the vertical row of color, you may find that the edge you are solving needs to go to the left, as shown in this example with the Red and Blue edge. To move the edge to the left and into the second layer, do Ui Li U L U F Ui Fi


Special cases
If you cannot find the edge you need in the top layer, it may be in the second layer of the Rubik's Cube, but not placed correctly as shown below.

situation 1: edge in the right place but flipped
situation 2: edge in the wrong place within the middle layer
To resolve the above two situations, perform U R Ui Ri Ui Fi U F as shown above to insert any edge into the middle layer so as to 'kick' the edge up to the top layer. Now you can solve it as shown above.